![]()
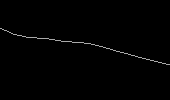
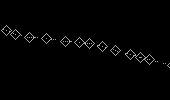
A point in the database is stored using two or three coordinates, and lines are in turn composed of points. For example, the line in the left box below is composed of a series of points marked with squares, as shown in the right box. These points are spaced from two to eight metres apart on the ground in this example. In general, the spacing of the points is determined by factors such as the curvature of the line and the speed with which the line was traced during input.
NOTE : You will not see the square markers on the display. They have been added here to show the points more clearly.
(287873, 740687), 1:400
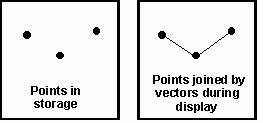
In the database, only the points forming a line are stored. The short straight segments, called vectors, joining them are created by the display module of the GIS when the map is being drawn. This is also the assumption used by distance and area calculation modules of a GIS. This method of representing the geometry of geographic features is called the vector representation.
Line Features
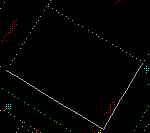
Lines form linear features as well as the boundaries of areas. For
example, the following rectangular parcel is composed of three different
lines, only two of which are straight ones. It could have been composed of
four lines, but the operator has chosen three in this case to reduce the
operational and storage overheads required to start and end a line.
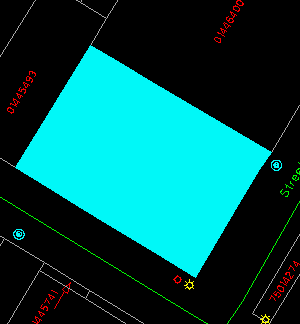
(288647, 740371), 1:400
![]() Show
the lines forming the boundary of the parcel.
Show
the lines forming the boundary of the parcel.
We will use the Information icon ![]() on the CARIS
Manager Panel to show the
individual lines forming the boundary of the parcel. This command can be
used to display certain information about the features, but we will use it
here only to show the extend of lines.
on the CARIS
Manager Panel to show the
individual lines forming the boundary of the parcel. This command can be
used to display certain information about the features, but we will use it
here only to show the extend of lines.
1. Click on the Information icon.
2. Point at one of the lines and click on the left mouse button. The line will be highlighted and the Line Information Panel will appear.
3. The Line Information Panel shows that it is a line and it is a parcel boundary. We will explain the entries in this panel later. For now, just click on the Cancel button
to exit.
4. Repeat from step 2 to highlight the other two lines.
5. Click on the right mouse button to quit.
![]()
